How to Clean and Digitize Old Photos the Right Way
Learn how to clean old photos safely, scan them at the right DPI, and use AI to fix fading and damage. A practical prep-and-digitize guide.
How to Clean and Digitize Old Photos the Right Way
The safe way to clean old photos is to stay dry, go gentle, and touch the printed surface as little as possible. Dust off loose dirt with a soft brush, handle prints by the edges, and never reach for water or household cleaner. Once the surface is clean, scan each photo at 600 DPI, save it as a lossless file, and you have a permanent copy that can outlive the original.
That order matters. Clean first, digitize second, and only then reach for editing tools. Skip a step or do it in the wrong sequence and you can turn a fixable photo into a lost one.
Here is the full process, from the shoebox to a proper digital archive.
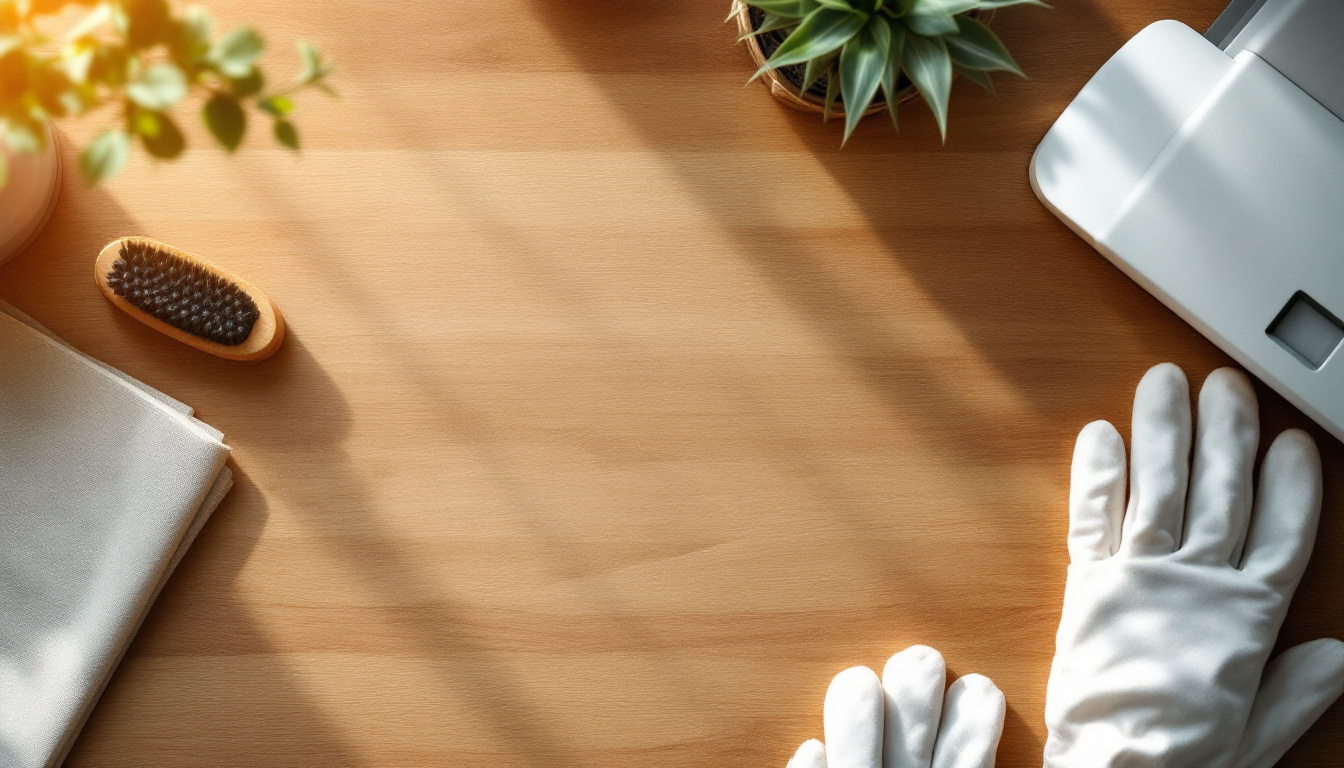
Before You Touch Anything
Old prints are more fragile than they look. The image sits in a thin emulsion layer on top of the paper, and that layer cracks, lifts, and smears far more easily than the paper underneath.
Wash and dry your hands before you start. Skin oils transfer to the print and attract dust over time, which is why archivists often wear nitrile or cotton gloves. Gloves are ideal, but clean dry hands are fine for a home project as long as you hold each photo by its edges.
Set up a clean, flat, well-lit workspace. Clear the clutter, wipe the surface, and give yourself room to lay photos out flat rather than stacking them. A soft towel under your work area cushions prints and stops them sliding around.
The National Archives guidance on handling family photographs is worth a two-minute read before a big project. The short version: support the whole print, avoid bending, and never write on the back with a ballpoint pen.
How to Clean Old Photos Safely
Cleaning an old print means removing surface dust and loose debris, nothing more. You are not trying to scrub out stains or lift discoloration. Those are chemical changes in the photo itself, and no home cleaning removes them without damage. AI handles those later.
Here is the safe method, in order:
- Blow off loose dust with a rubber air blower (the kind sold for camera lenses). Skip canned air, which sprays propellant and moisture onto the surface.
- Brush gently with a soft anti-static brush or a clean, dry microfiber cloth. Use light, single-direction strokes. Let the brush do the work, no pressure.
- Work edge to edge and lift the brush between passes rather than scrubbing back and forth.
- Check under raking light. Tilt a lamp low across the surface so dust and scratches cast shadows. This shows what is loose debris versus what is baked-in damage.
If dust is stuck in a fingerprint or a smudge, leave it. A stubborn mark is not worth risking the emulsion. That is exactly the kind of thing digital restoration cleans up without touching the physical print.
Stat
A single fingerprint left on a print can etch permanently into the emulsion within a few years as the oils react with the photo surface. Handling by the edges is the cheapest preservation step you can take.
What Never to Do
More old photos are ruined by bad cleaning than by age. These are the mistakes to avoid completely.
Never use water or liquid cleaners. Water can dissolve or lift the emulsion, cause the print to cockle and warp, and make photos fuse together as they dry. Window cleaner, alcohol, and "photo cleaning" sprays are worse.
Never use tape or adhesives on or near the image. Tape residue yellows, bleeds into the paper, and pulls off the emulsion when removed years later.
Do not try to separate stuck-together photos by force. Prints that have fused, or a photo stuck to glass in an old frame, need a conservator. Prying them apart tears the image layer.
Do not trim, flatten under heavy books, or "fix" curling by bending against the curl. Store curled prints flat in an archival sleeve and let humidity relax them slowly instead.
When a photo is too far gone for safe home handling, the Northeast Document Conservation Center publishes free preservation leaflets and can point you to a professional.
How to Digitize Old Photos: Scanner vs Phone
Once the surface is clean, digitizing is where you actually save the photo. A digital copy does not fade, tear, or get lost in a flood. This is the step that matters most for long-term preservation.
A flatbed scanner beats a phone for almost every print. It keeps the photo perfectly flat, lights it evenly, and avoids the glare and lens distortion a phone introduces. Libraries, print shops, and community archives often have scanners you can use for free or a small fee if you do not own one.
Use a phone or camera only for oversized prints, framed pieces you cannot remove safely, or items that will not lie flat. If you must shoot with a phone, use soft indirect light from the side, hold the camera parallel to the print, and turn off the flash to kill glare.
The right scanner settings
- Resolution: 600 DPI for standard prints, 1200 DPI for small originals like wallet-size, 3x5s, or anything you want to reprint larger. The Library of Congress recommends 400 to 600 DPI for preservation scanning, with more resolution for smaller sources.
- File format: Save the master as TIFF or high-quality PNG. Both are lossless and avoid the compression artifacts JPEG stacks on top of existing damage. Keep a JPEG copy for sharing if you want, but archive the lossless file.
- Color mode: Scan in full color even for black-and-white prints. Color mode captures the toning, staining, and subtle detail that grayscale throws away, and it gives restoration tools more to work with.
- Turn off auto-correction. Scanner "enhance" and "restore" toggles apply crude sharpening and contrast that you cannot undo. Capture a flat, honest scan and do the corrections later.
Flatbed technique
Clean the scanner glass with a dry microfiber cloth first, since dust on the glass shows up as spots on every scan. Place the print face-down, square to the edges, and close the lid gently. For curled prints that will not sit flat, a sheet of clean glass or a thin acrylic sheet laid on top helps, as long as it does not press hard on the emulsion.
Scan one photo at a time when detail matters. Batching several prints on the bed at once is faster, but you lose resolution per photo and the software often crops them badly.
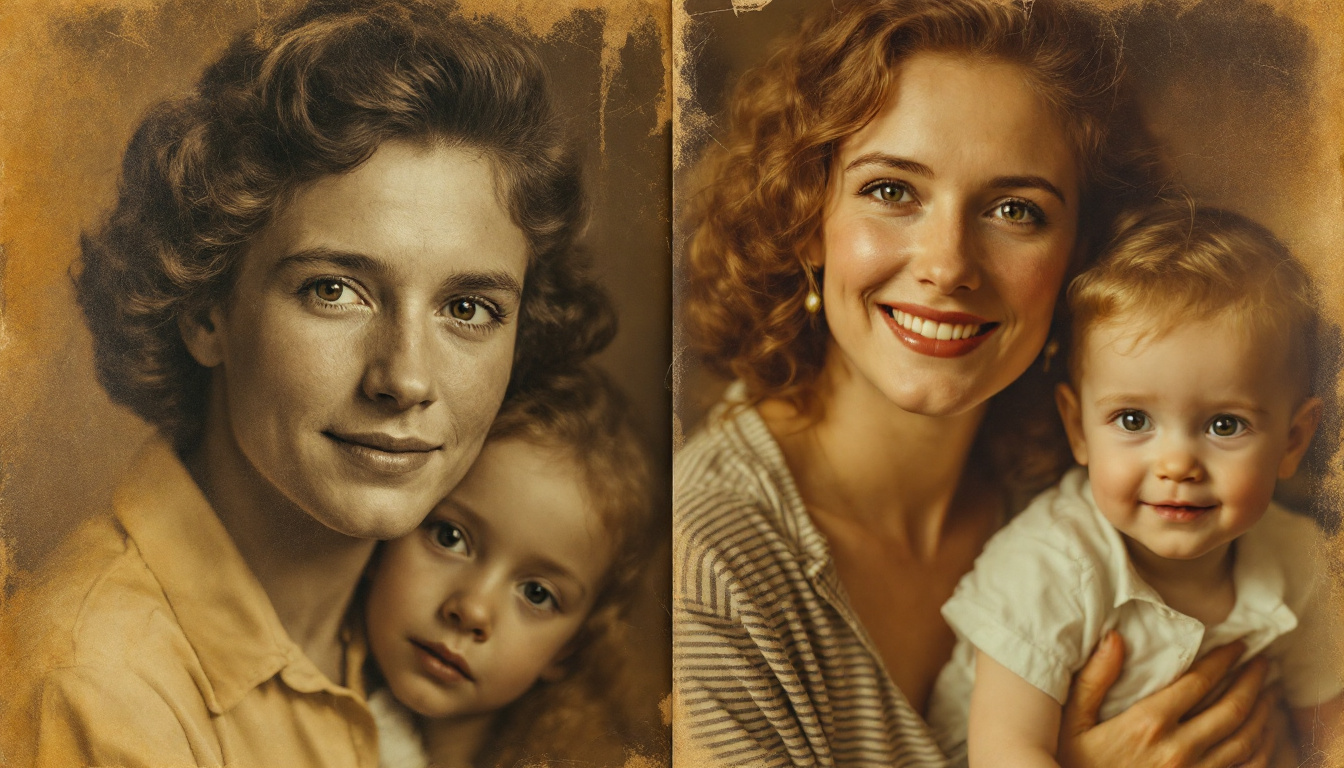
The Finishing Step: Restore the Digital Copy with AI
Cleaning and scanning get you a faithful digital copy of a photo that is still faded, scratched, or yellowed. The physical damage is now baked into the file. This is where restoration comes in, and it is the safest place to fix anything, because you are editing a copy and the original print stays untouched.
Modern AI does in seconds what used to be hours of manual retouching. It reverses color fading, removes scratches and dust spots, sharpens soft faces, and can colorize black-and-white prints. Because you are working on the scan, you can try it, compare against the original, and redo it as many times as you like with zero risk to the print.
GetPhotoShoot's restore old photos tool is built for exactly this handoff. You upload the clean scan, the model identifies fading and damage automatically, and you review a preview before you commit. There is nothing to configure and no software to install.
Upload a scan and see fading and scratches disappear in seconds. No commitment required.
A few things make the AI step go well:
- Feed it the lossless scan, not a compressed phone photo. Better input means fewer hallucinated details and cleaner fading correction.
- Check faces closely. On small or low-resolution faces, any AI tool can invent features that look plausible but are not quite the person. Compare against your scan before saving.
- Set realistic expectations for colorization. It infers likely colors from context, so it is convincing for skin, sky, and outdoor scenes, and it guesses on unusual objects.
For the full workflow, the deeper walkthrough in how to restore old photos with AI covers what the technology does well, where it fails, and how to batch a whole box of photos.
Put It All Together
Here is the whole process in one pass:
- Wash your hands, set up a clean flat workspace, handle prints by the edges.
- Dry-clean the surface: air blower, then a soft brush or microfiber cloth. No water, ever.
- Scan at 600 DPI (1200 for small prints), in color, saved as TIFF or PNG, auto-correct off.
- Restore the digital copy with an AI photo restoration tool to fix fading, scratches, and damage.
- Back up the results in at least two places, and print the ones that matter.
The single most important habit is separating the physical work from the digital work. Clean and scan the print with the lightest possible touch, then do every real repair on the copy. That way the original survives no matter what, and the version on your wall looks like the day it was taken.
See what AI restoration recovers from a single scan, free to preview.
Frequently asked questions
How do you clean old photos without damaging them?
Start dry. Wash and dry your hands, then use a soft anti-static brush or a microfiber cloth to lift surface dust with light strokes. Never use water, household cleaners, or tape on the printed surface. Work over a clean, flat area and handle prints by the edges only.
Can you use water to clean old photographs?
No. Water can lift or dissolve the photo emulsion, cause staining, and make prints stick together permanently. Old prints are especially fragile. If a photo is stuck to glass or another photo, stop and consult a conservator rather than trying to soak or pry it apart.
What DPI should I use to scan old photos?
Scan at 600 DPI for standard prints and 1200 DPI for small originals like wallet-size or 3x5 photos. Higher resolution captures more detail for restoration and large reprints. The Library of Congress recommends 400 to 600 DPI for general preservation scanning.
Is it better to scan or photograph old photos?
A flatbed scanner produces flatter, sharper, more even results than a phone. Phone photos add glare, lens distortion, and uneven light, which compounds existing damage. Use a scanner when you can, and reserve phone capture for oversized prints or items that will not lie flat.
What file format is best for digitizing old photos?
Save archival copies as TIFF or high-quality PNG, which avoid the compression artifacts JPEG adds. Keep JPEG as a smaller sharing copy if you like, but store the lossless master. Lossless files also give AI restoration tools the cleanest possible input to work from.
Transform your photos with AI
Upload a selfie and get stunning AI-generated photos in seconds. Free preview — no credit card required.
Start Taking AI PicturesNo credit card required. Results in 60 seconds.
Related articles
How to Restore Old Photos with AI (Without Ruining Them)
AI can fix scratches, reverse fading, and colorize old family photos in minutes. Here's how to get results that actually look right.
How to Repair Torn & Damaged Old Photos with AI
AI can rebuild torn, scratched, and water-damaged photos, but not everything. Here's what it fixes, what it can't, and a repair workflow that works.
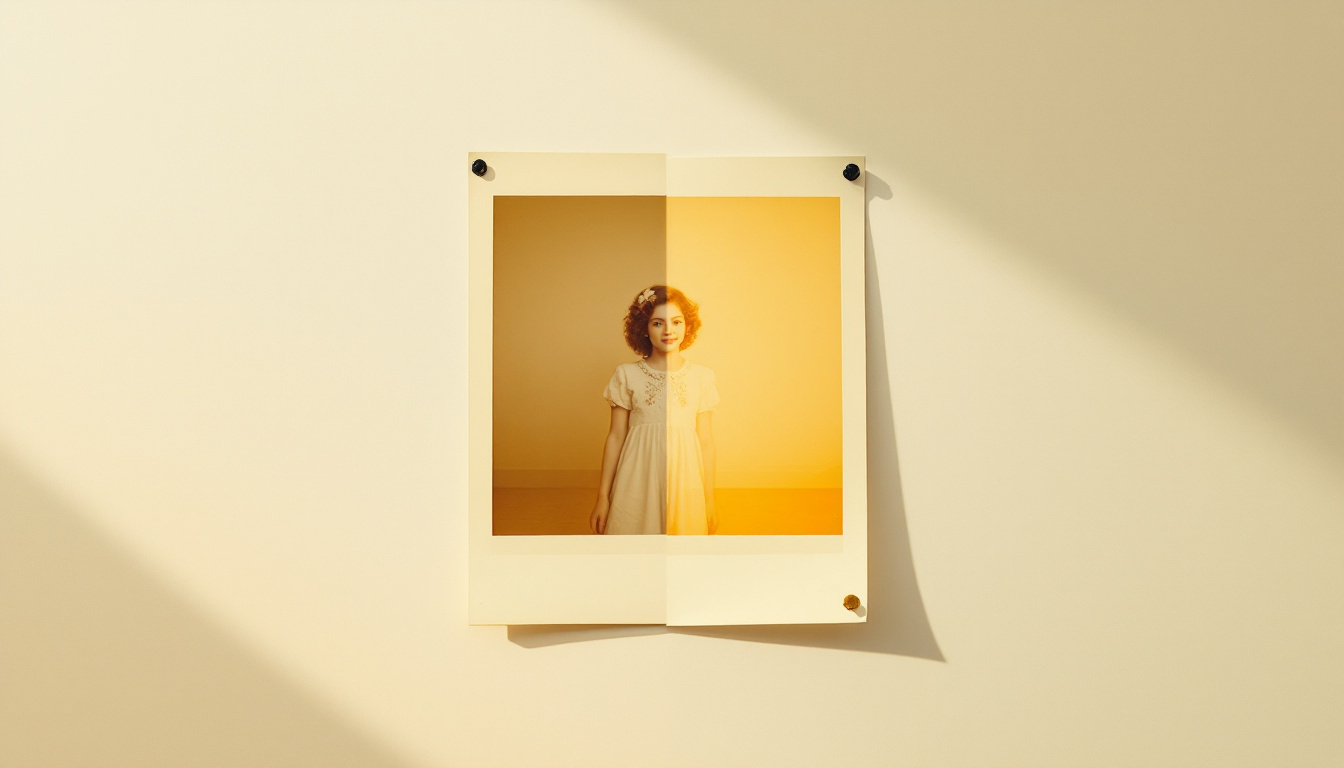
How to Restore Faded Photos and Bring Back Color
Learn why photos fade, how to restore faded photos with AI, and what color and contrast you can realistically bring back from a washed-out print.